
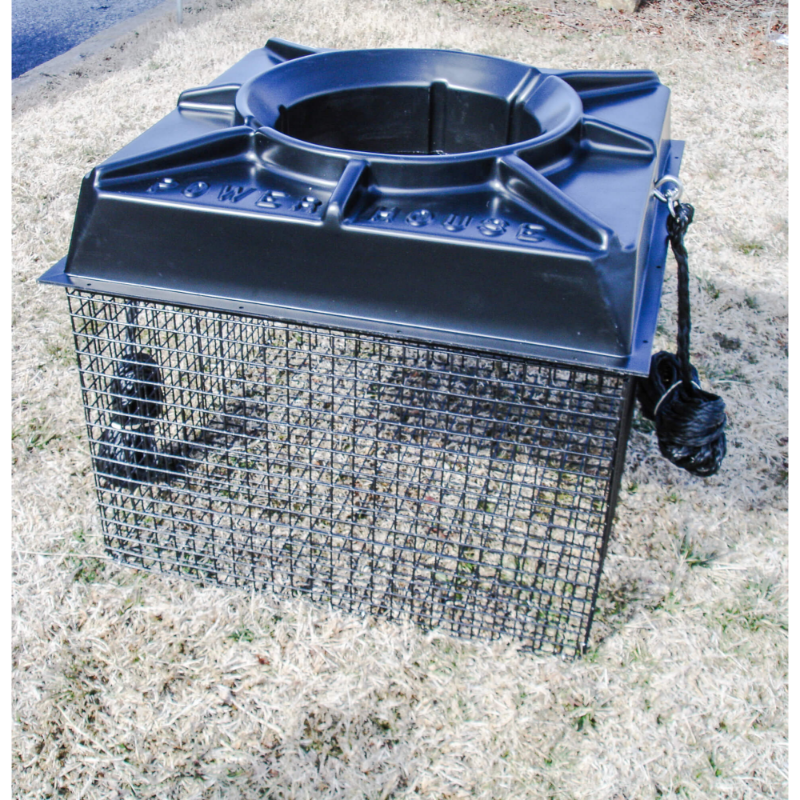

Bearon Aquatics Small Float Cage
★★★★★
$125.00
✓ Free Shipping over $99
✓ Easy 30 Day Returns
✓ We Will Beat Any Advertised Price - Call Us
✓ Financing Available
✓ Installation Available
✓ Easy 30 Day Returns
✓ We Will Beat Any Advertised Price - Call Us
✓ Financing Available
✓ Installation Available